How to make a bottle wall planter
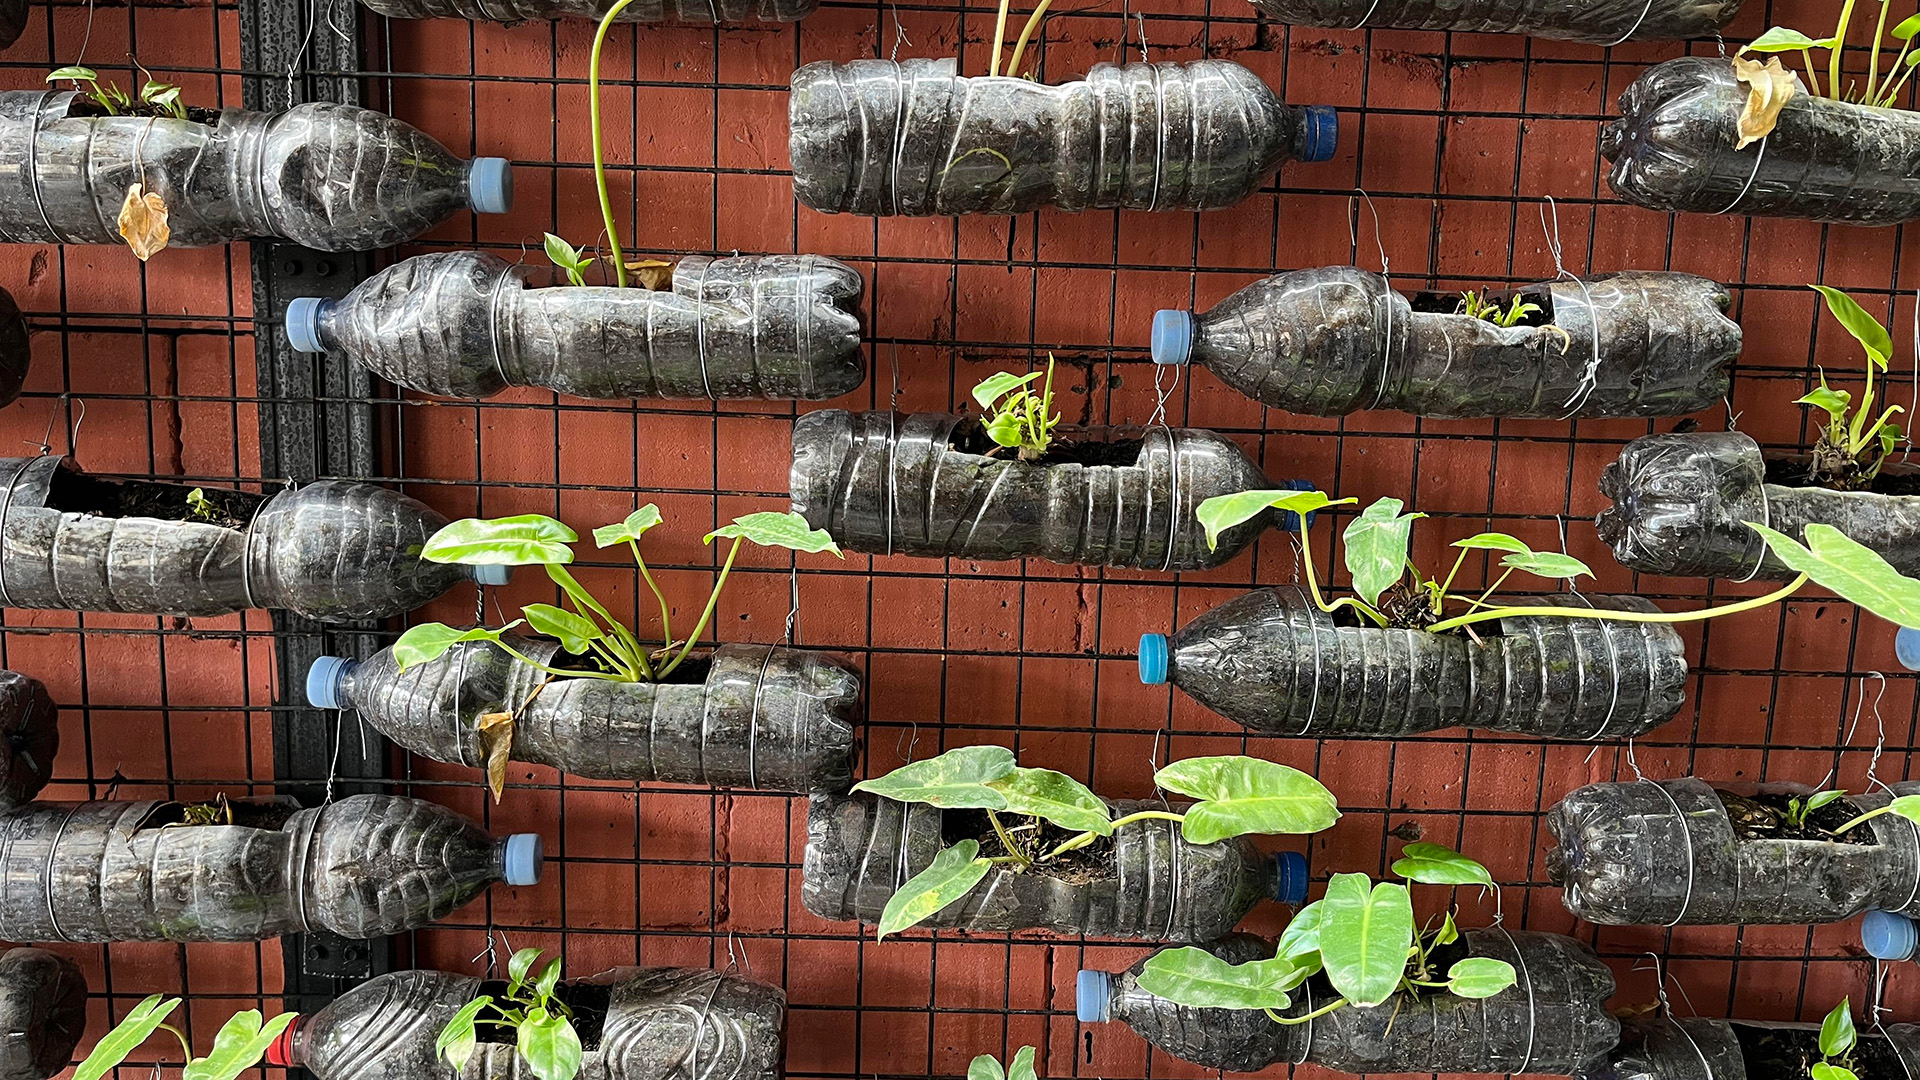
If you’re pressed for space in your outdoor area or want to make the most of what you have, bottle wall planters are a great way to do both.
The idea behind them is simple: get a bottle and a few items you probably have in your house or DIY box already, and soon enough you’ll be ready to start planting. Planters are a great way to pick up a few gardening and DIY skills, and even better, making the planters can be a fun activity to do with children – under close supervision, of course.
Before you start
Before you start, there are some things you’ll need to hand to make the planters as quickly and easily as possible:
- An empty plastic bottle
- Scissors or a craft knife
- A pin or heated nail
- String, wire, or a cable tie
- Potting compost and a plant
- And, of course, a wall, fence, or screw/hook to hang the planter from
Making the planter
Making the planter is simple enough, and if you follow the steps below, you’ll be growing plants or flowers in no time.
- Place the bottle on its side and cut a large window out of one face
- Make a few small drainage holes into the new underside (what was the top)
- Poke two holes near the neck and two near the base for hanging
- Thread string or wire through the holes to make hanging loops
- Fill the bottle with compost through the window you cut
- Place the plant in the bottle, then hang it on your wall, fence or screws
- Ensure that the fixings are secure, then water the planter little and often
You can use whatever bottles, string, or small plants you have to hand, but there’s also a great opportunity to get creative with one of all of those things, adding colour, cosiness, and fragrance to your outdoor area for a low cost.